There are always more projects waiting in the wings. I'm usually working on one or two crafts at a time. Recently, I realized I was working on about a dozen items simultaneously, and most of them need to be finished by the end of the month! I actually had to make a list in order to keep my head straight about it all. One of the items on the top of the list was a set of Passover costumes. This project was most time sensitive, as Passover starts early next week.
When my mom asked if I would be able to make some sort of Passover costumes this post about
Christmas Pageant costumes on
Design Mom served as loose inspiration. I liked the way each character had a preorganized set of pieces to wear. I decided to make a simple set of tunics/ponchos that slip over your head. I wanted them to be able to fit anyone so the sides are open and the tunic closes when tied with a sash. Also, going back to this philosophy of
costumes for little kids, each character has a similar set of 4 pieces: tunic, belt, hood, and headband.
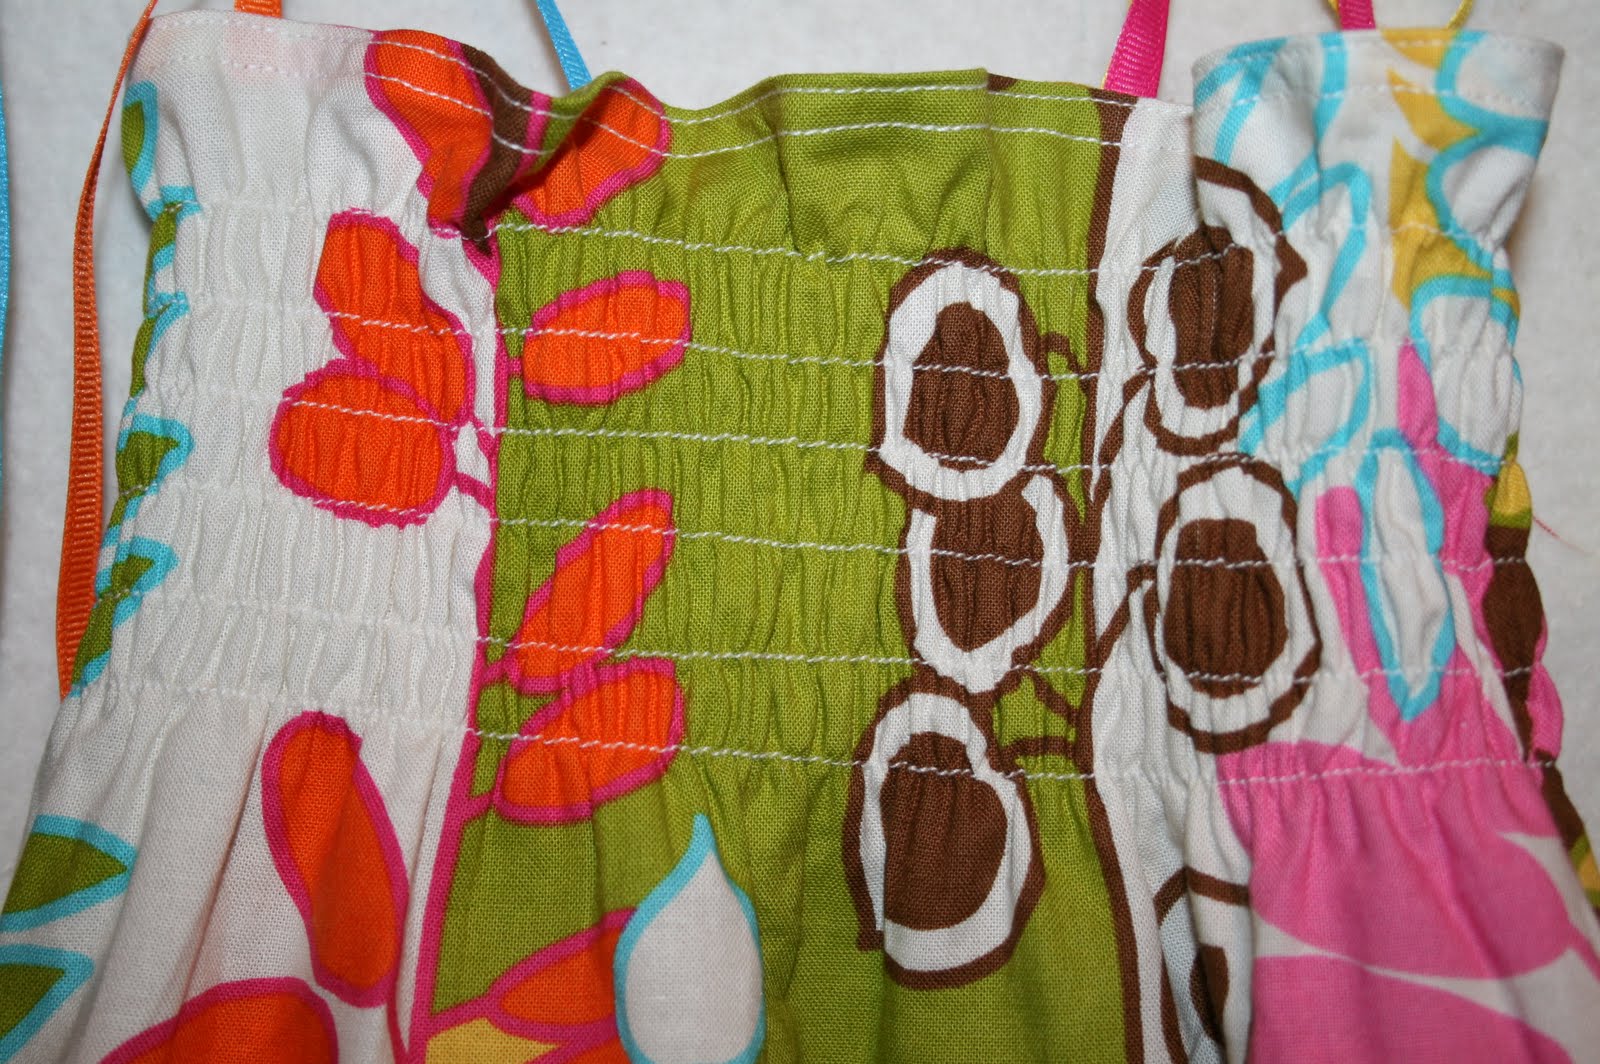
I chose linens for the Hebrew slaves and brocades for the Egyptians. This was a fun chance to get some of that wacky metallic fabric that I like to look at but don't usually have a need to buy.
Here are all the fabrics for the tunics ready to go:

Below are some pictures of the completed sets.

An Egyptian Taskmaster and a Hebrew Slave.

Aaron and Moses.

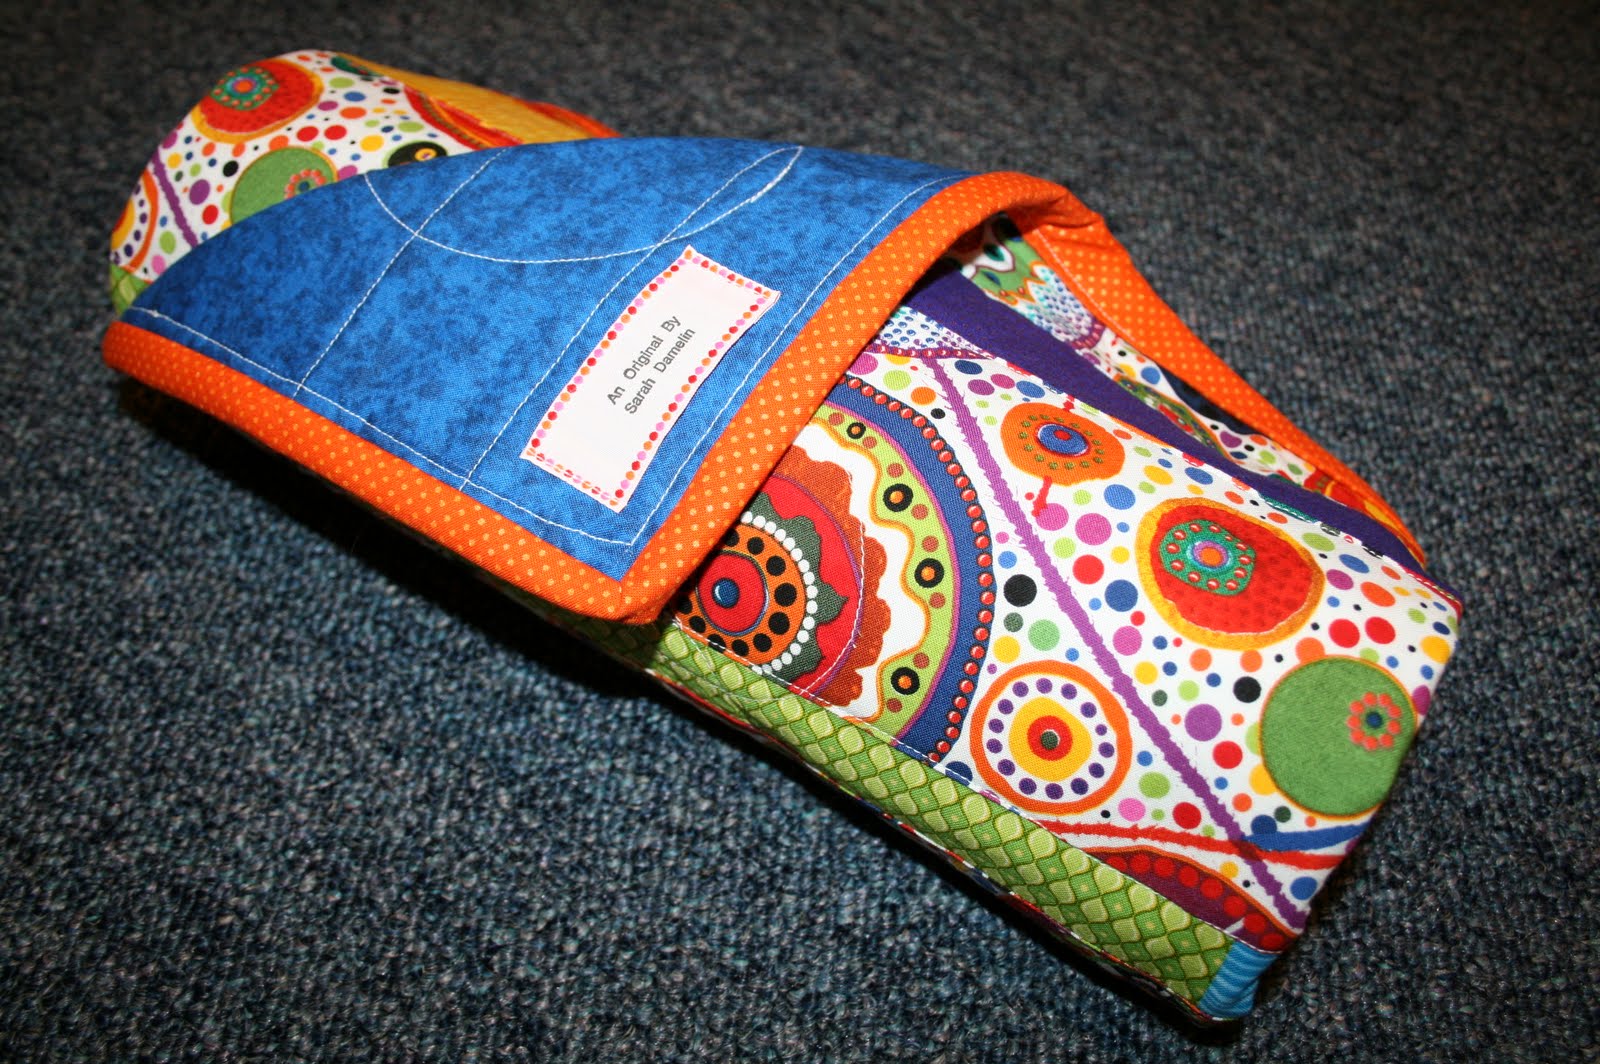
A dark and powerful Pharaoh. This is the only set with an additional piece, this great
headband.

All nine costumes, four Egyptians and five Hebrews.
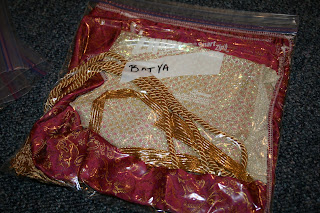
Here's a shot of one set laid out. This is the costume for Batya, Pharaoh's daughter.

Each set of pieces is now in it's own Ziplock bag all ready to go. I'll be sure to post some photos of these costumes in action. In the meantime, I'm off to cross something else off my I-need-to-make-this-soon list. Happy crafting to you!


 Pinned meticulously to prevent shifting.

 Here are a few details of the hand stitching:
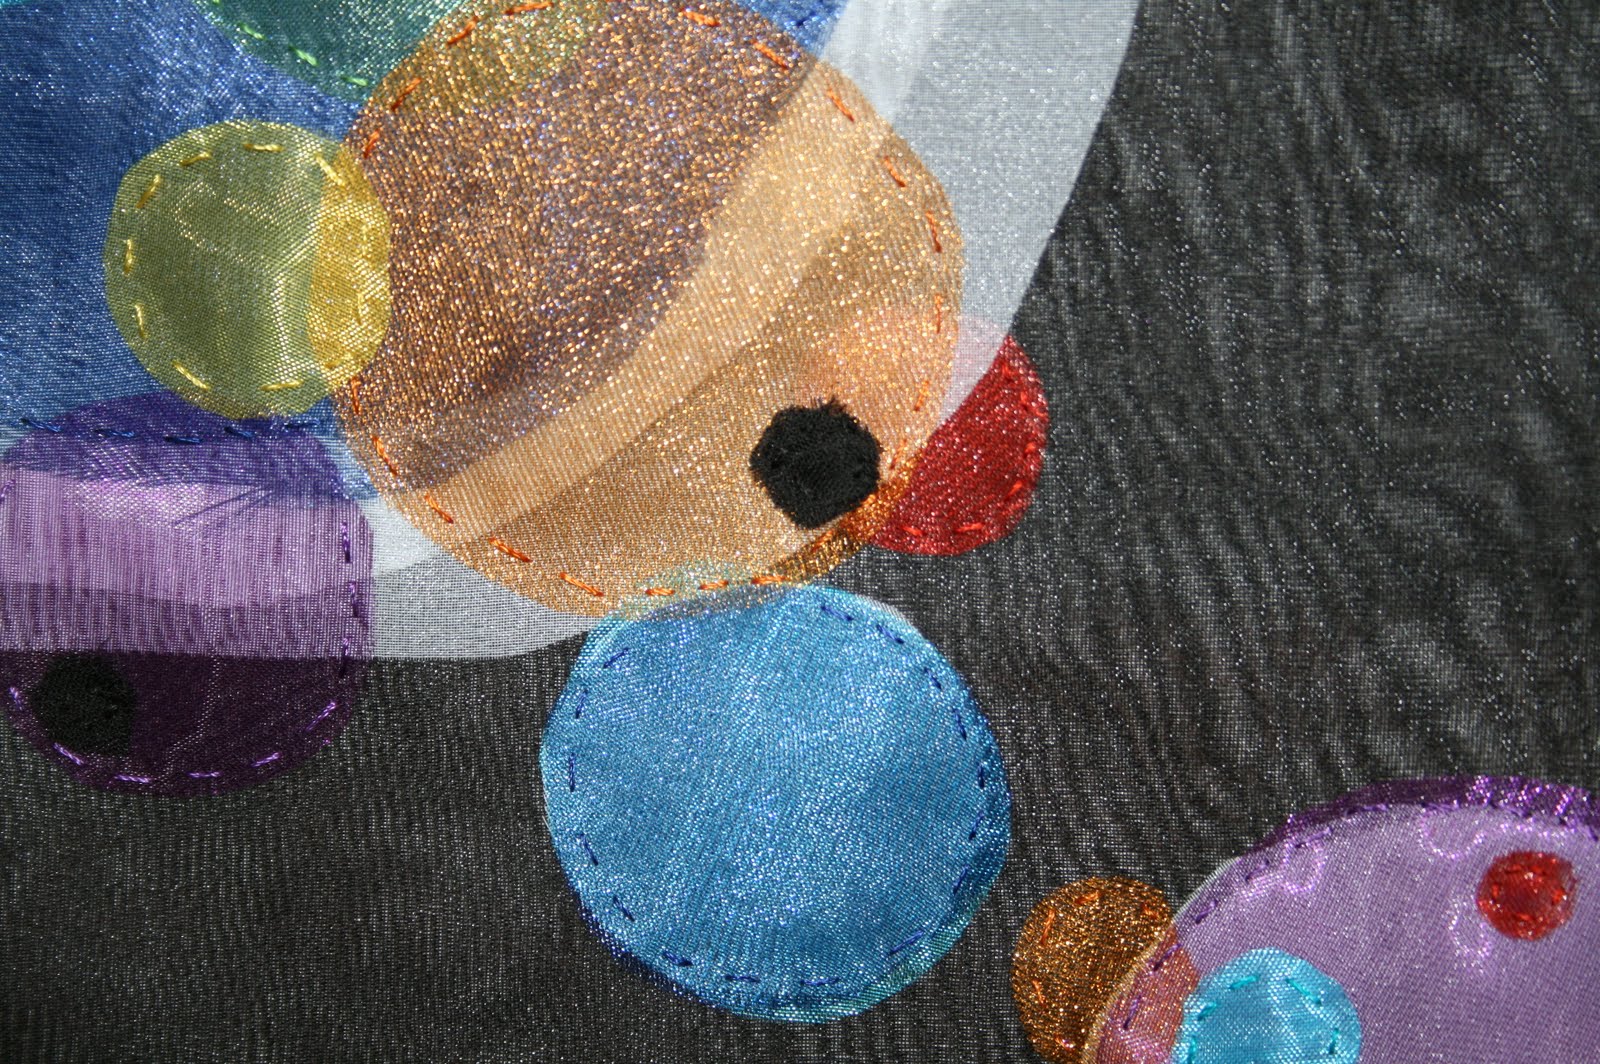
 All done sewing:
 I decided to frame it for them, and I took a risk by choosing this metallic frame. It's nice and modern, even though it's gold. Also, I like the sleek shape, sketchy-ness of the surface, and I really like that it is black on the outside edge.