The costumes were simple vests made of different materials, and, in some cases, with additional details attached. For example, in the boat room there was a pirate vest with a skull and crossbones on the back and a sea dragon vest made of some scaly material with a long tail and "spikes" sewn down the spine. In the jungle room was a black, faux-gorilla-fur vest and a tan fur vest with a lion's tail.
After taking a look at one of these costumes, it became clear that I would make some myself. I stumbled upon some leopard and zebra print minky fabric, so those are the first vests I've made. My three-year-old asked for a giraffe costume, so that will be next. I found some giraffe minky on my last trip to Joann's. I think the key is that the material has to have enough body to hold it's vest shape when being worn. It also should be comfortable, washable, and fun. I'm on the lookout for some pleather with an embossed alligator or snakeskin texture.
Here are some photos of my little one modeling the leopard costume:


Now for some specifics:
I bought 1/2 yard pieces of each fabric, leopard and zebra. This is plenty to make two of each vest, including tails.

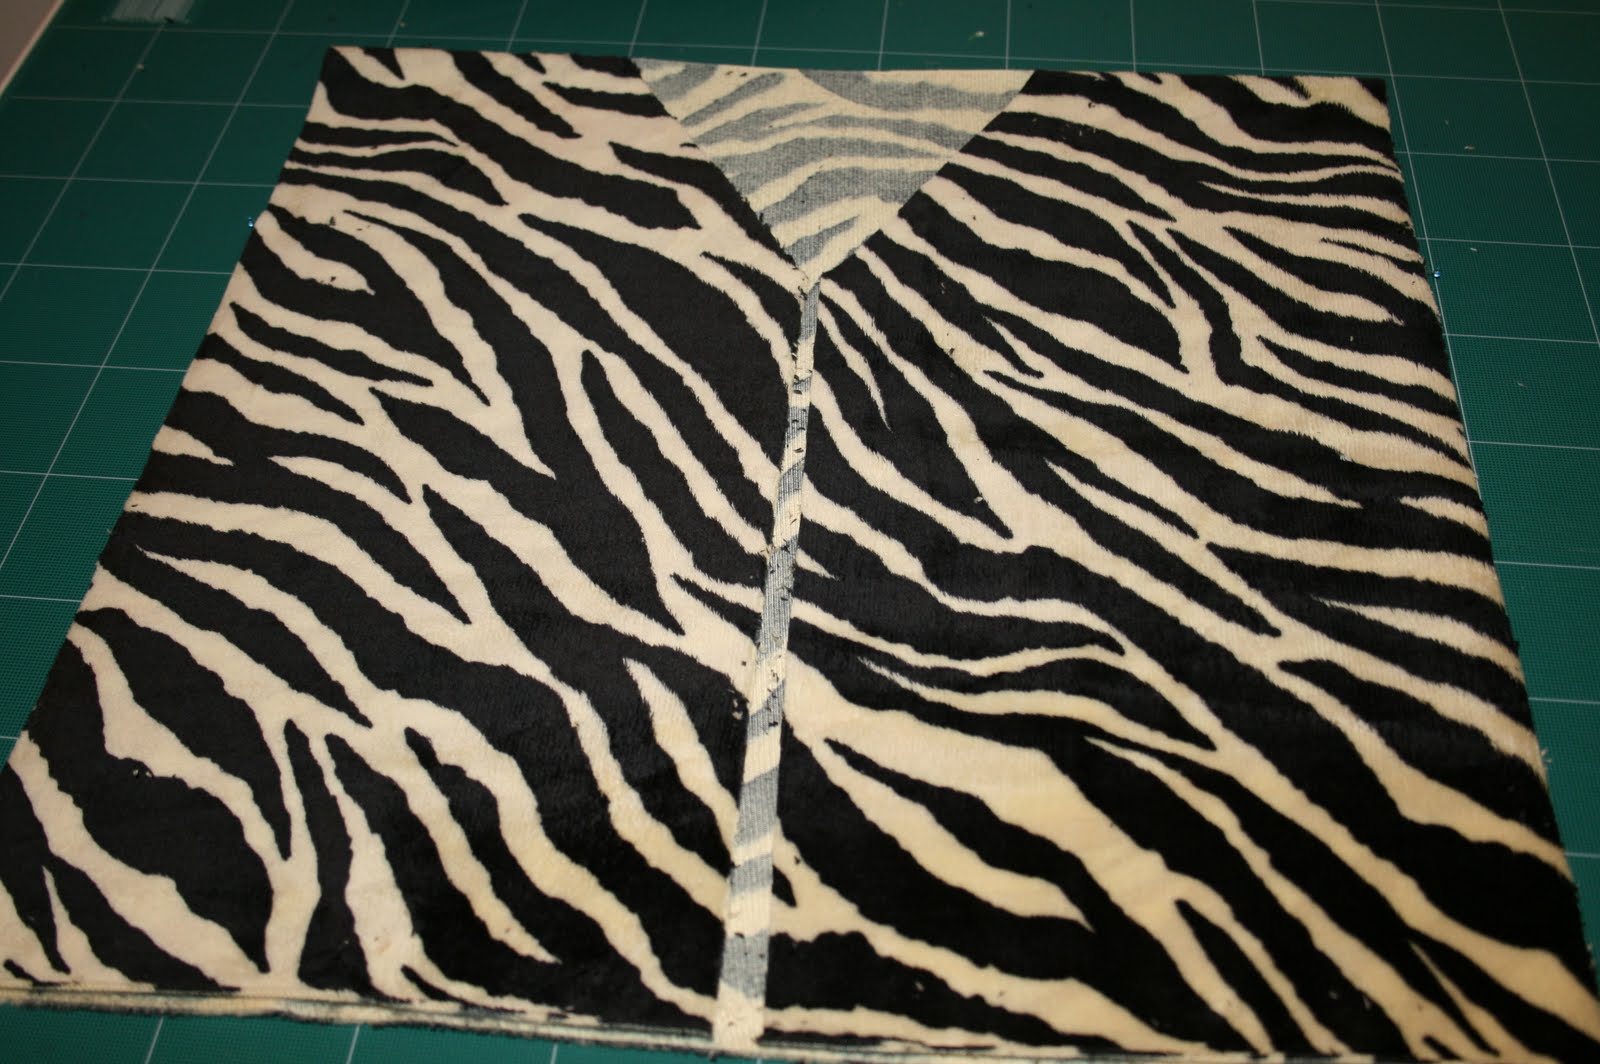

 3. Roll the edges over to make a hem. Using zigzag stitch, sew from pin to pin to make the arm hole hem. Repeat with the front opening and head hole.
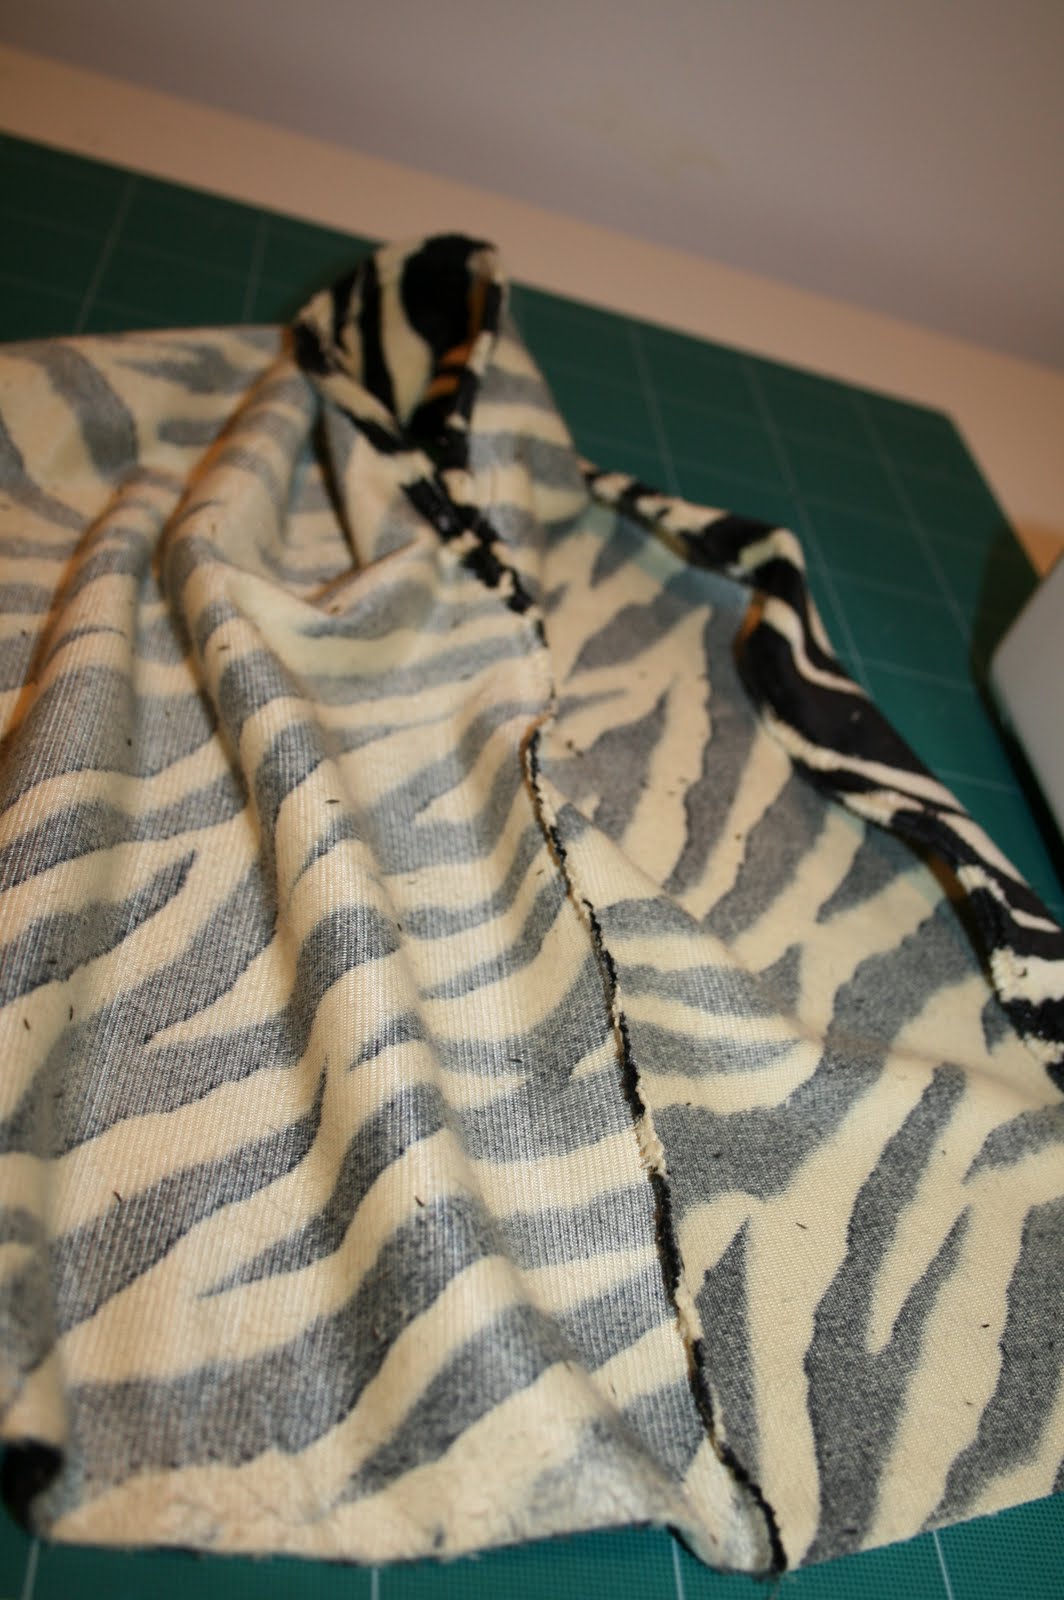 4. Sew the side seams.
5. Make the tail if appropriate to your costume. The tail is just a 3" x 7" rectangle. Lengthen or shorten the 7" side depending on what animal you're making. Either sew into a tube with right sides together and turn right-side out, or double fold so no raw edges are visible. Sew closed.


 6. Hem the bottom of the vest, and attach the tail.
Now to find some cute pegs to hang these up, and we'll have a jungle dress up area in no time. Maybe I should work on some headbands with wire framed ears. I think I'm getting ahead of myself.
That is so cute! What a fun idea. The kids must love it.
ReplyDelete