These directions are adapted from the Purl Bee.
Materials
To make one approximately 40-inch long sash with two flowers:
- Three 1/4-yard pieces of fabric that you like together, we'll call them Fabric A, B, and C in the pattern. Try to be adventurous in your combination!
- Two felt balls. There are instructions to make your own felt balls here, but I ordered some from Art Fire. Search for felt beads and choose the color and size you like. I think the 10-15mm beads fit best.
- Thread to contrast with your fabric.
- Pinking Shears
Cutting
In the original directions, all cutting is done with the pinking shears. I have a really old pinking shears, so it's a bit hard to use. To simplify things, and save my wrist, I only pinked the edges that would show.
For the braided sash cut:
- A 2-inch X 44-inch strip from Fabric A*
- A 2-inch X 30-inch strip from Fabric B
- A 2-inch X 30-inch strip from Fabric C
For the large flower cut the following from whichever fabric you like*:
- A 3-inch X 17 1/2-inch piece for the outer layer of the flower
- A 2-inch X 15-inch piece for the middle layer
- A 1 1/2-inch by 13 1/2-inch piece for the innermost layer
For the smaller flower cut the following from whichever fabric you like:
- A 2-inch X 15-inch piece for the outer layer
- A 1 1/2-inch by 13 1/2-inch piece for the inner layer
*The longest strip is the belt piece if you use it that way. The 44" piece was too short for me, I'd suggest making that piece longer and then shortening it as needed at the end. Also, I decided that the large flower is too big for me. When I made a second sash, I made the small flower my big one, and made another that was slightly smaller.
Braiding
Iron the short ends of one of the long strips you cut of the braided sash 1/4-inch to the wrong side.
Then fold the long sides in 3/4-inch wrong sides together so that one side is on top of the other and none of the wrong side of the fabric is showing.
Using the contrasting thread zig zag stitch down the middle of the strip closing it and sewing down the fold in the process. One pinked edge will still be visible on the back side of the strip.
 Repeat this for the other two long braid strips.
 Lay the longest braid strip right side up and flat. Sew the shorter two braid strips it 10-inches from one of it's ends. Sew the three strips together thoroughly and don't be afraid to show off the contrasting thread!
Loosely braid the three strips together until the two shorter strips end.
Sew the ends of the shorter strips to the longer strip in the same manner.
Making the Flowers

I have all my flower pieces ready.
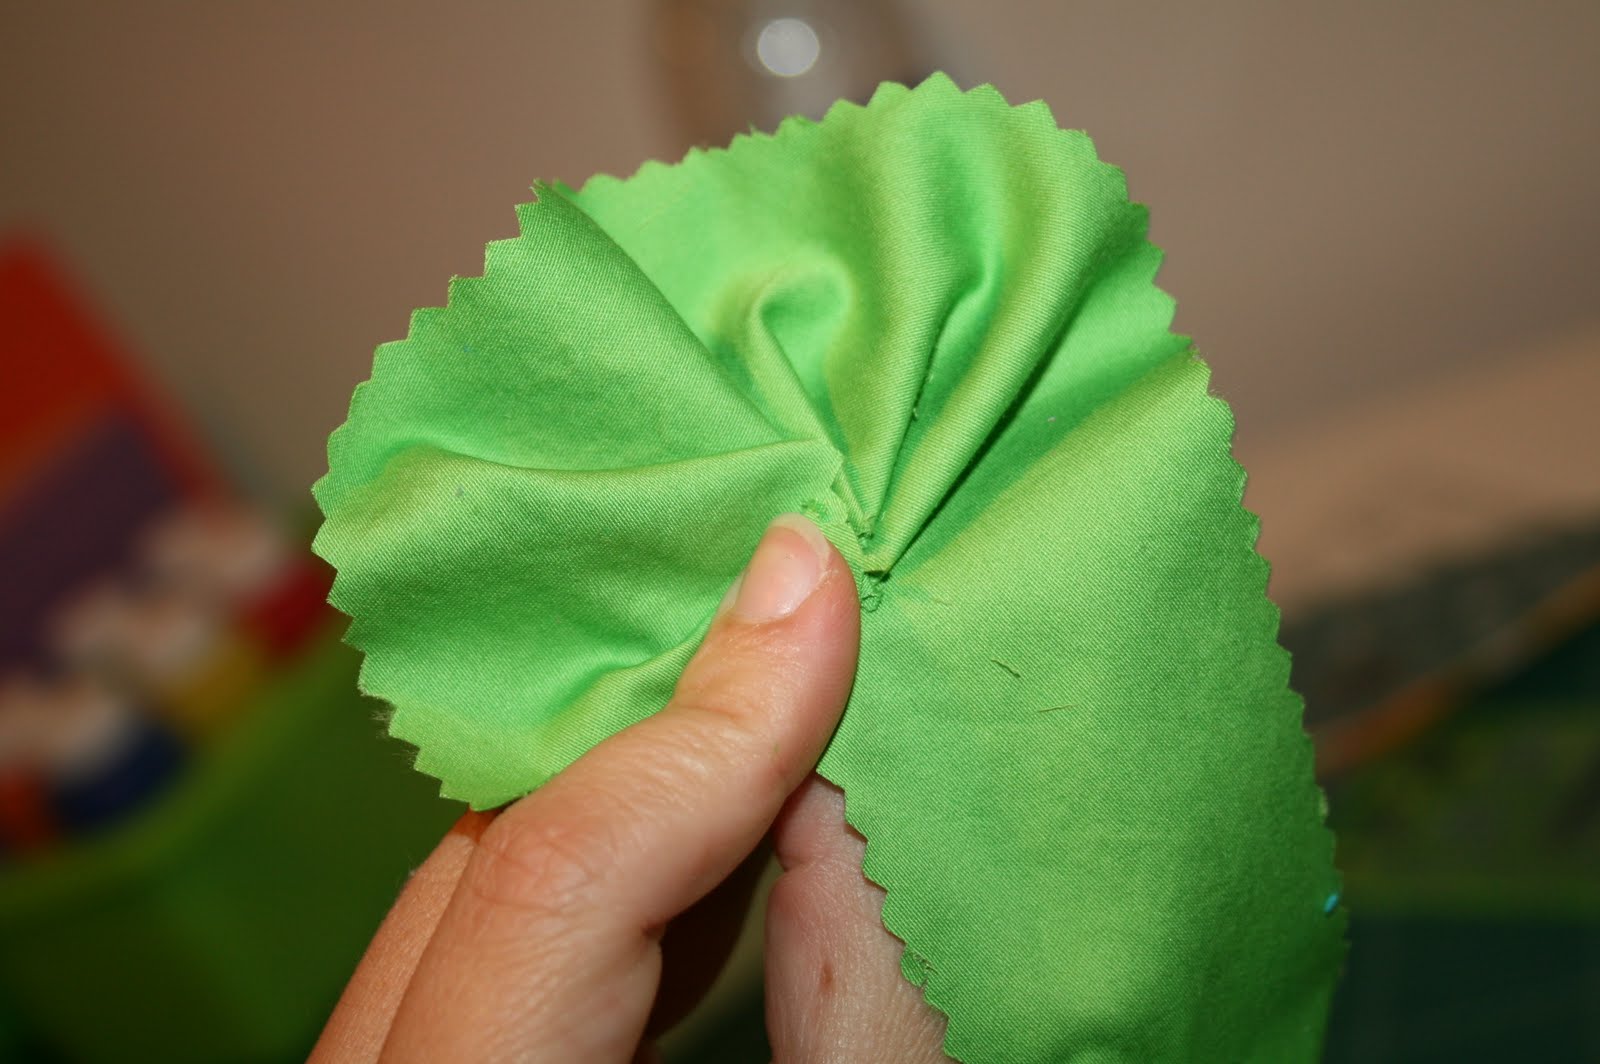 Gather one of the long sides of a flower piece together as shown above.
Keep gathering it along this side until you have a circular flower shape gathered in the middle.
Sew the gathered middle together to keep this shape in place.
 Repeat this process with the middle and center layers. Sew the layers together.
 Trim each of the layers with the pinking shears until the flower looks like you want it to. Repeat this for the second flower.


Sew the flowers on about 5-inches from the start of the braid (or wherever you like, really!)


No comments:
Post a Comment