Friday, August 19, 2011

Spray Painted T-Shirts


I found this idea in a spring edition of Disney Family Fun magazine. It is online here. The basic idea is that you cut a shape out of contact paper, and you use that shape to resist paint on fabric. I wanted to adapt this idea for a craft project my daughter and her friends could make at her 4th birthday party. The shirts were the favors each child took home, so I personalized them with each child's initial. Look at the website for details and instructions, and read more below for specifics of my version.

Just like they did in the magazine, I cut shapes from clear contact paper. Instead of animals, I cut negative shape initials for each child who was attending the party. We adhered the contact paper to the center front of each shirt. I enlisted help from my brother-in-law who expertly assembled a low clothesline in the backyard. We hung all the shirts with a thin piece of cardboard inside. Each child's name was visibly pinned to the hem of the shirt so they knew which shirt to spray.
After looking for a while for small spray bottles at craft stores, I found about 20 perfect little ones at a beauty supply store (thanks Mom for suggesting that I look there!). I bought an assortment of colored fabric paint at Michael's and diluted each color at a ratio of 2 to 3 parts paint to 1 part water in a bottle.

Here are a few of the finished projects before removing the stencil:


Some Tips:
The shirts that came out the best were those with fewer colors. Also, the paint bled under the stencil at the bottom, as so much paint dripped over the surface of the contact paper and collected at the edge. The more clear letters came about by spraying from a greater distance. Below you can see where the paint collected and bled, though this one is one of the more clear, as is the A shirt at the top of this post. I think removing the stencil as promptly as possible would limit the amount of paint that dripped down.


This is a little step-by-step view of the birthday girl working on her shirt. She got a little color happy, as she often does.


The clothesline at the end of the day:

Kids' Stationery

I love using my kids' artwork to make their stationery. When my younger daughter turned one this spring I set about helping her generate enough work to make a set of thank you notes. You've seen a similar project here. The only difference is that this time the art was made by cutting small pieces from a huge finger painted piece of butcher block paper.

If you haven't ever done this with your kids, I highly recommend it. Cover a tile floor with plastic sheeting or garbage bags. Tape the plastic to the floor around the edges. Lay out a large piece of plain white paper. I use a section from a roll of easel paper. Ikea carries these rolls, and they're really inexpensive.

I love the crayola children's paint. It is really washable, and comes in a box of ten or twelve colors. The washability is key, as you should be prepared for a bit of a mess.
It all starts out neatly enough...
But suddenly isn't so neat anymore.
We always do this with as little clothing on as possible, and pop the kids right in the bath when they're done.

Then make the cards the same old way, just sewing the art onto plain notecards. This set got jazzed up by brightly colored mats.
A few of these cards were so beautiful I couldn't send them off. Maybe I'll frame them to enjoy as the works of art they are. Who knew the amazing work that could come from finger painting?

Fig Salad


It's been a while since I've posted anything new here. The summer has been busy and wonderful, and full of projects and adventures. So full, in fact, that I've just had time to collect photos and drafts, but not time to post. If you're one of the two people who regularly check to see what's new, here's a mini post to ease back into things.I don't know about you, but I'm pretty sure the fruit has been better this year than most. The berries are sweeter, the pluots juicier, and I suddenly have even started to almost enjoy bananas. Last week, when I spotted these figs at our supermarket, I was so excited to make one of our favorite summer salads. I couldn't decide which color fig to buy, so I chose a few of each. I think the purple ones had a slightly better texture, but the color combination was really pretty so I'd mix it up again.Quarter the figs. Drizzle with a tiny bit of olive oil and some freshly ground black pepper. Roast in a 375 degree oven until soft and a bit browned on the edges.In the meantime, thinly slice a red onion and saute in a hot skillet with the tiniest bit of olive oil. Let the onions carmelize. When they are nicely browned, add a generous dousing of balsamic vinegar. Still continuously as the vinegar reduces to create a thicker fluid and coat the onions.Arrange a large handful of arugula on a plate. Top with hot figs and onions. Dress the salad with a few additional drops of the thickened vinegar. Top with crumbled goat cheese and fresh black pepper.
Yum. It's even good as leftovers, just reheat the figs and onions before making the salad again.

Ok, draft one complete. On to the next adventure.

Tuesday, May 10, 2011

Art Plagiarism

About six years ago I plagiarized this Van Gogh using fabric collage and applique to recreate it. It hangs in my front hall, and I smile every time I see it.
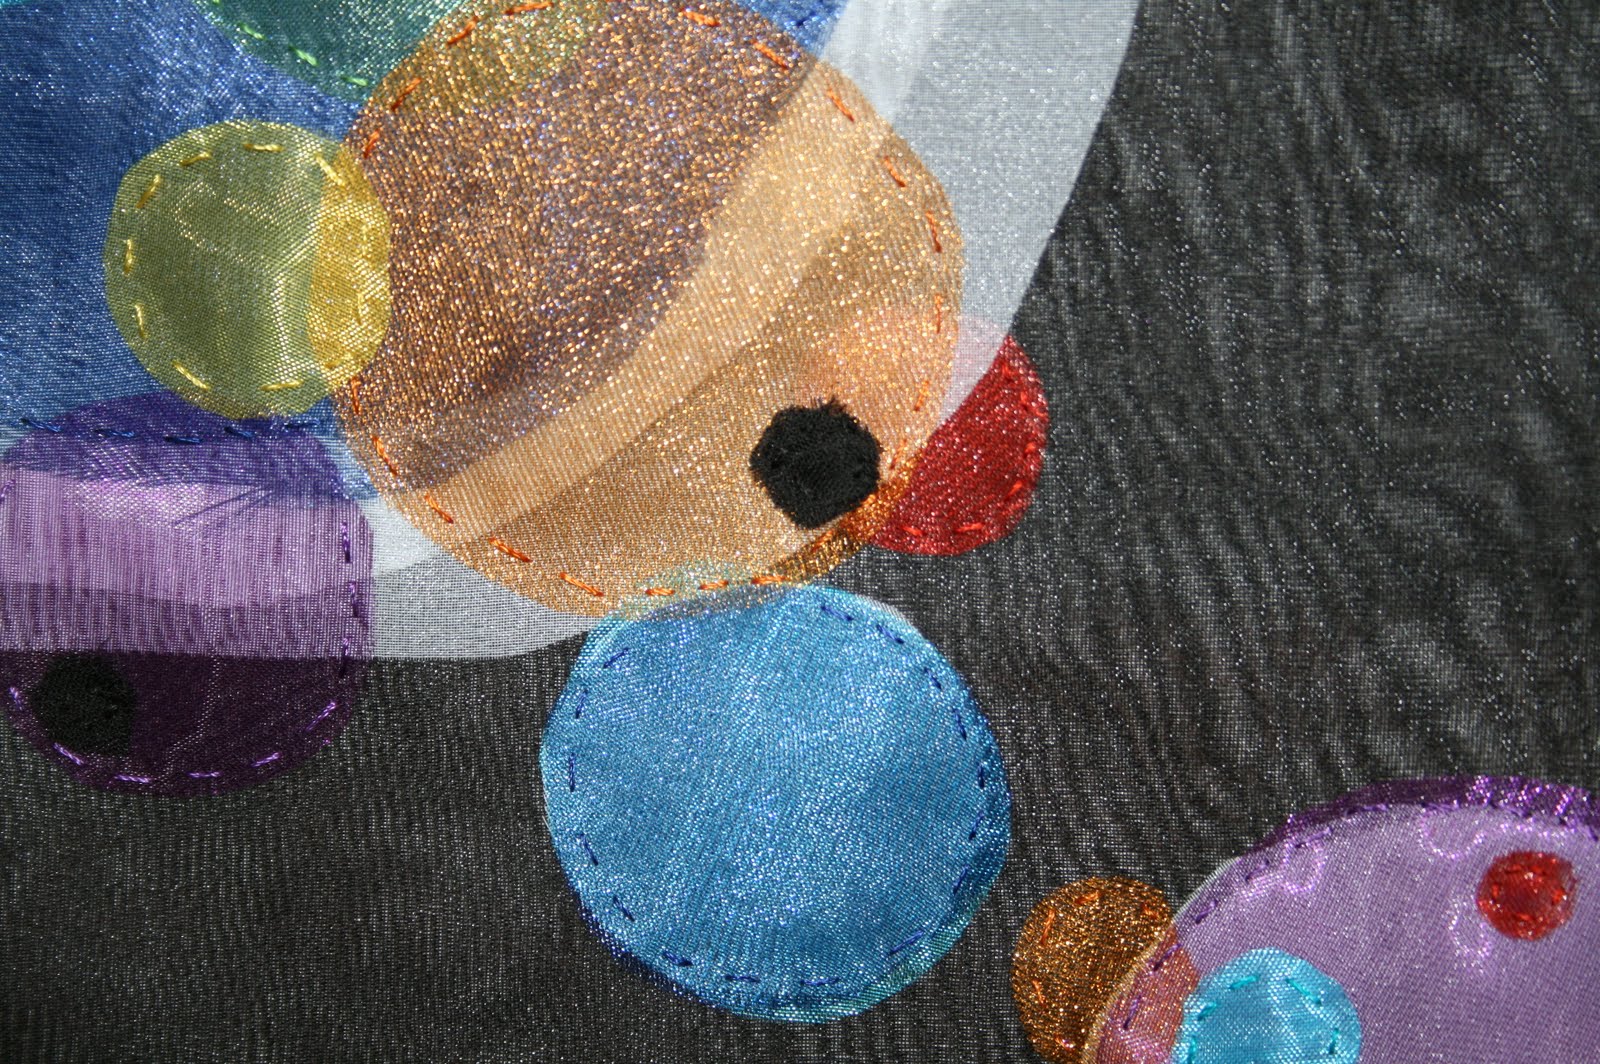
Recently, for a friend's wedding, I decided to make a similar piece. The great thing about making a gift like this is that you can totally customize it to the recipient's taste. I asked my friend for a few abstract artists that both she and her now husband liked. She knew I was up to something, and eagerly volunteered that they had gone to a Kandinsky exhibit the day they became engaged. She even sent me a link to his favorite piece by the artist, this one. I'd never seen it before, and loved it immediately. I set to work making a fabric copy of this painting for them.

The woman at the cutting table at Joann's had to know what I could possibly be up to with 1/8 yard cuts of all these organzas. Thank goodness it was prom season; I had a lot to choose from!
Pinned meticulously to prevent shifting.
Here are a few details of the hand stitching:All done sewing:I decided to frame it for them, and I took a risk by choosing this metallic frame. It's nice and modern, even though it's gold. Also, I like the sleek shape, sketchy-ness of the surface, and I really like that it is black on the outside edge.
I'm absolutely in love with this piece. The original painting is so fun and interesting, and it's always exciting to be inspired by the great works of others.

Monday, April 25, 2011

RAMPS!!!


These are the gorgeous ramps I came across this past Sunday at the Farmer's Market outside the American Museum of Natural History.

And this is the AMAZING dinner I just made with them.

Here's the scoop:
I first found ramps at DePiero's, a market I've mentioned many times before. That was three years ago. I had heard about this seasonal item on Top Chef a few seasons before. (Casey was really excited to find them at the store and planned her whole dish around them.) I'd never heard of them, but I always get excited when I find some new produce variety to try. That first time I found them I bought a large bunch with no knowledge and no plan. Thanks to my trusty friend Internet, I found this recipe. I made it with those first ramps, and it quickly became a seasonal favorite of both my husband and myself. I've made this dish about twice a year since then-- a total of six or seven times. Once or twice I substituted different fish, but basically have made very few changes to the original recipe.

Salmon with Spring Leeks in a
Wild Mushroom Wine Sauce
Adapted from The Forager Press

Ingredients:

Salmon Filets for four people (I use about 1 1/2lbs)
Juice of half a good orange
Zest of the same orange
1/2 to 3/4 lb of fresh wild mushrooms (I use a mix of whatever looks best at the market. Today it was trumpets, clam shells, and oyster mushrooms)
1/2 cup of white wine
1/2 cup of vegetable or fish broth
1/4 cup of heavy cream (half and half is totally sufficient)
3 Tbsp butter

And here's the magical ingredient:
About 1/2 pound of ramps
The original recipe calls for these two items:
1/2 clove of finely chopped garlic AND 1/3 cup fresh Leek greens sliced across in 3/4 inch strips.
I use the bulb of the ramps IN PLACE OF the garlic and the leafy tops for the greens as noted. 1/2 lb of ramps yields much more than 1/3 cup of greens. If you want a milder flavor only use 1/4 lb of ramps.

Directions:

1. Put the Salmon on a plate and cover with the orange juice. Sprinkle with salt and set aside.

2. Chop the mushrooms to bite size. Slice the ramp bulbs crosswise into small discs. Slice the leafy part of ramps into 1 inch strips.

3. Melt 2 Tbsp of butter and add the ramp bottoms until the butter is bubbling around the pieces.

Add the mushrooms. When the mushrooms are softened and starting to brown, stir in the leek greens until wilted and dark green.

4. Add the stock and wine and reduce by half.

5. Use remaining Tbsp of butter to dot the top of salmon. Place under the broiler for about 8 minutes while reducing the sauce.

6. When reduced add the cream and season with salt and fresh ground black pepper.

Spoon the mushrooms onto plates

and place the fish on top. Garnish with orange zest.

Serve with roasted potatoes.


Ahhhhh. That's me sighing a big I'm so-full-of-something-so-good sigh. Ahhhhhh. There it is again.

Tuesday, April 12, 2011

Smocked Dress


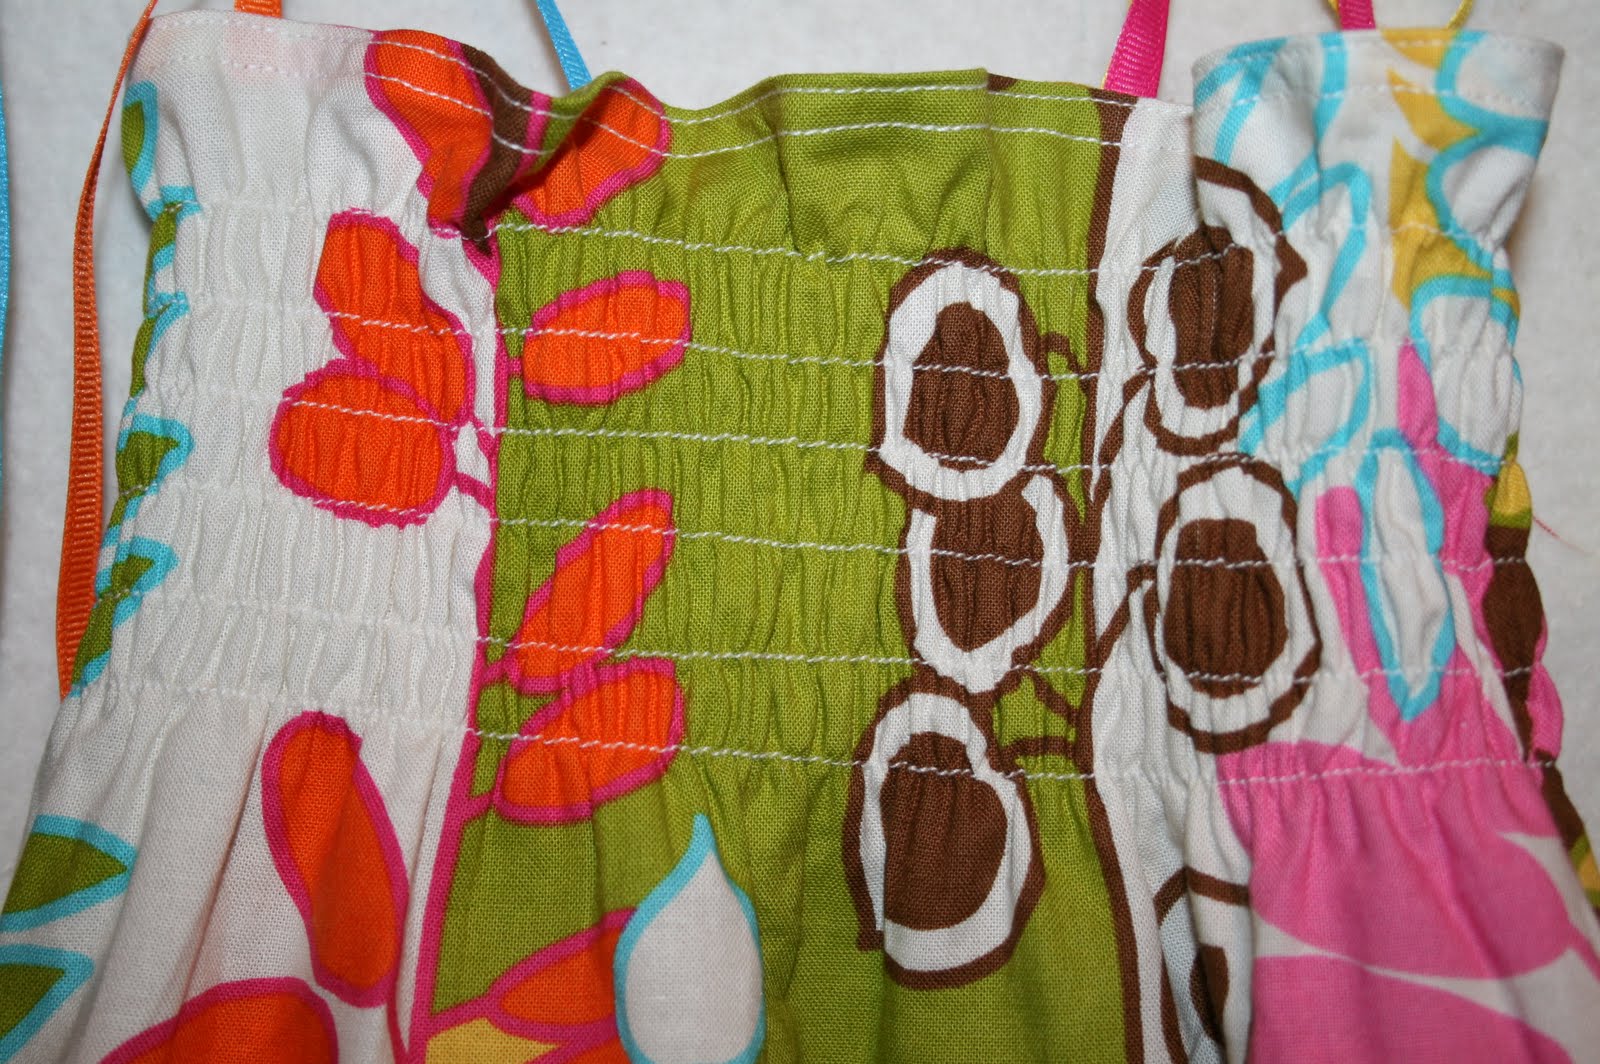
Sometime last week I stumbled upon this dressmaking tutorial. I watched the video posted there and set out to get some fabric. I found a great, oversize print with lots of bright color. For the real tutorial, watch the video here, it makes the whole process basically foolproof. Below is just a speed through of my first run with this pattern. It couldn't have been easier; this first try took about an hour start to finish. The one I made is sized for a 12 month old, but the same amount of fabric and sewing, with some minor adjustments, could easily have made one for my almost-four-year-old.

Mark the lines for your elastic with water soluble marker.

Sew along the drawn lines with elastic thread in the bobbin.

Spray with water, press with hot iron. Elastic will shrink, as at the right in the above photo.
This part is really cool and sort of magical.

Attach your straps (or go strapless if you're that kind of gal, wink wink) while sewing the top hem down. A strapless one would be a great beach cover-up.

This one is all ready for my little one to romp around in this summer. And because it took so little time, I don't even feel bad about making it before the rest of the stuff on that dreaded list.