Monday, February 28, 2011

Pez Dispenser Display


When considering what kind of gift my soon-to-be six-year-old niece would like for her birthday, I thought about her blooming Pez dispenser collection. I immediately remembered a Pex display I once saw somewhere which used ribbon to make small loops through which to hang your Pez. Add this project to the list of things that are not my idea, but I haven't the slightest clue as to where or when I saw it. It was some time ago, I think, and the original that I can still see in my head was a larger board, with many strips of Pez "hooks" on it. This adaptation is for a 24 x 6 inch board, and it holds twelve Pez dispensers, each framed by a different fabric backing. (I imagine there are some other uses for a board like this. For example, smaller ribbon, more strips and loops, might make for a cool jewelry storage/display.)

1. I started by choosing twelve turqoise fabrics from my stash. I cut 2 1/2 by 8 inch strips from each.

2. Sew the strips together, using 1/4 inch seams, so the fabric strips are 2 inches a piece.
3. Choose a grosgrain ribbon about an inch wide that either coordinates or contrasts with your fabric. For a 24 inch long board, I used 36 inches of ribbon plus 2 extra on each end. 40 inches total. That works out to 3 inches of ribbon for each 2 inch fabric parking space.
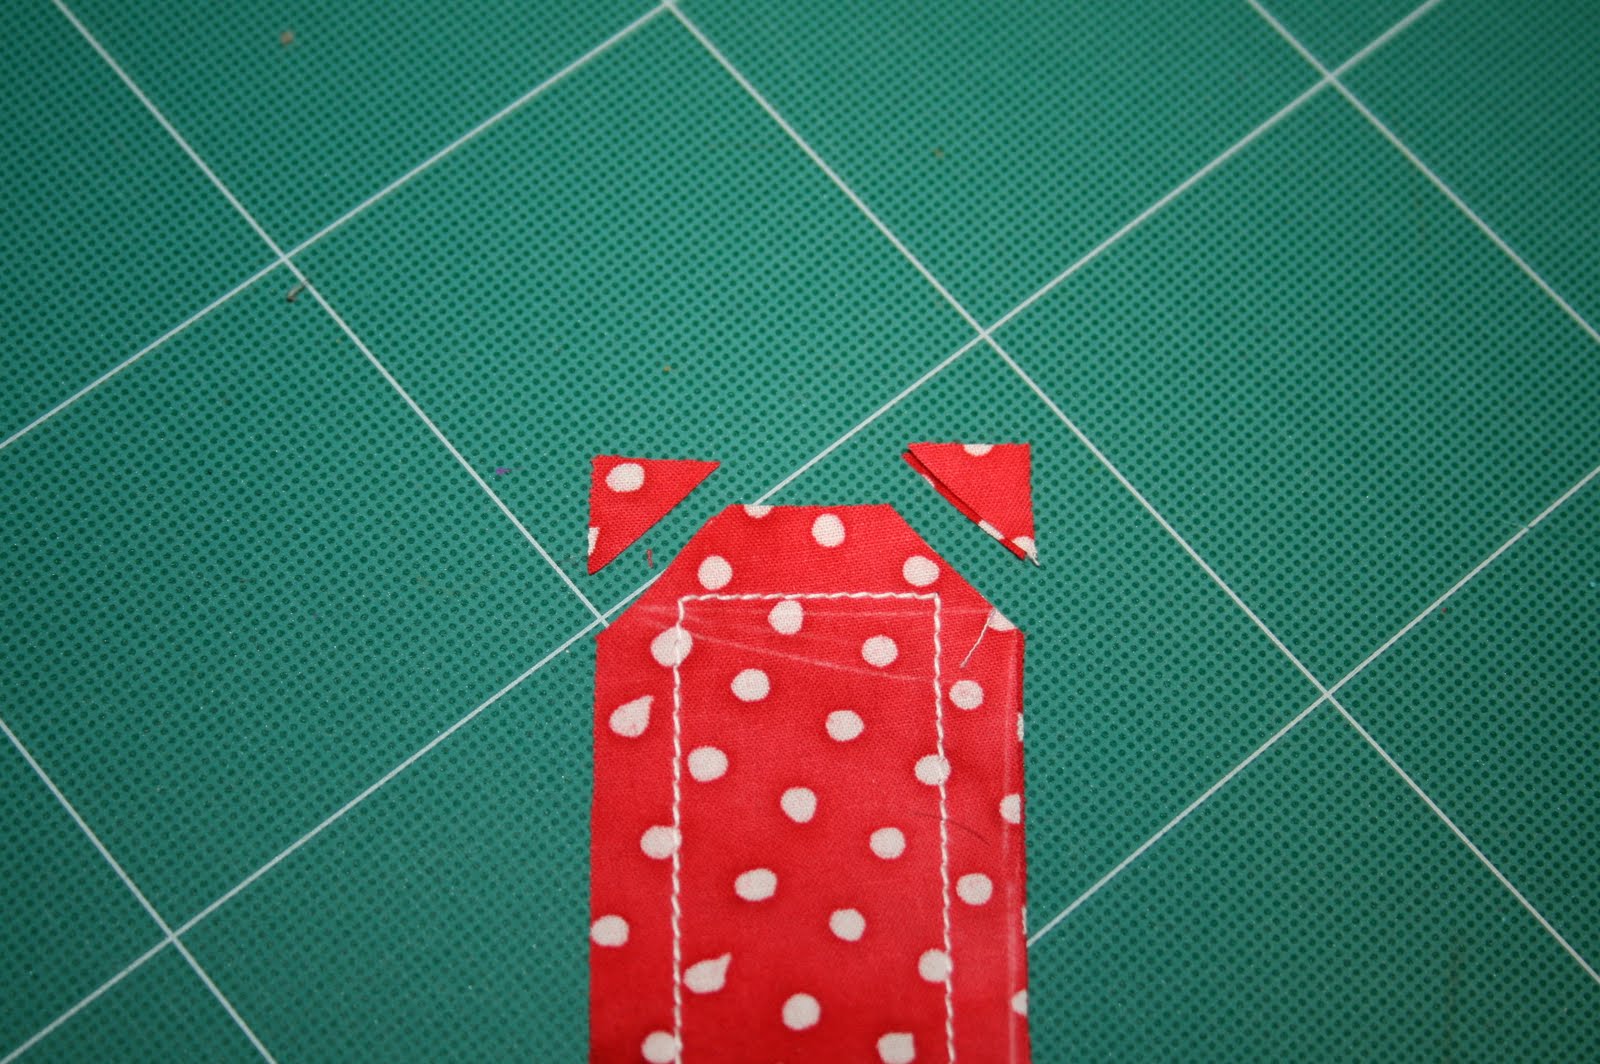
Pin the ribbon on the fabric seams, leaving slack in the ribbon. Make sure there are three inches of ribbon between ever pin. There will be loops of ribbon. Sew 1/4 inch to each side of the seam. This left a loop that allowed my Pez to slide in, but didn't let any of them fall through. If you have a Pez dispenser with a small, vertically shaped top, you will need a smaller loop. This size loop even worked for my Nemo Pez, which has a tail that makes it sit on a slant.
4. Now it's time for some upholstery. I used a pine board, Home Depot has them for $5 six inches by six feet. They cut a 24" piece for me. I cut a piece of batting just smaller than my fabric piece. Square it all up right side down with the board on top. Pull edges of fabric over the edge of the wood and staple down. Start from the center of a side and work your way out. (For basic upholstery instructions click here.)
Pull corners taught and staple them down a few times.
5. It's done. Here's a shot of the back:

And here's a close-up of the front:

I added two of those zig-zaggy art hangers from the hardware store to the back. This thing is ready to ship out.

Pesto Portabellas

Years ago I made some version of this recipe with friends in their Brooklyn apartment. One of them found the original recipe in a cookbook she had. I have no idea which cookbook it was, nor do I use the exact original recipe. As you'll see, there's not really a need to reference the cookbook anyway; this recipe is so easy to make.

Ingredients: makes 4 servings
Portabella caps- about 8 good sized ones, 2 per serving.
4 average sized carrots- peeled
4 small zucchini or equivalent volume
1 package of white mushrooms- cleaned, stems removed
Pesto
Parmesan cheese
Olive oil

Directions:
1. Prep portabella caps. Remove stem, and scrape all ribs from the underside. Place caps upside-down on a baking sheet. (Optional, drizzle with olive oil.) Place baking sheet in a 350 degree oven.

2. Prep stuffing. Either hand dice or food processor grate all carrots and zucchini. Heat 1-2 Tbsp of olive oil in a large skillet. Add grated veggies.


3. Chop white mushrooms. Add them to the skillet when zucchini and carrots are getting soft.

4. Cook mixture in pan until all veggies are soft and zucchini is sort of translucent. Stir in 1/3 to 1/2 cup of pesto. Stir just long enough to soften pesto and "glue" stuffing together.

5. Remove baking sheet from oven. Tilt to pour any water from the center of the mushroom caps. Equally divide stuffing among all portabellas. Place baking sheet back into the oven.

6. After about 10 minutes, remove baking sheet. Use a vegetable peeler to shave a few large pieces of Parmesan onto each mushroom. Put pan back in oven.

7. After about 5 minutes the cheese should be just melted. Remove from oven. Done.

We like to serve this with orzo and salad. It's a great vegetarian option.

Monday, February 14, 2011

Rainbow Layer Dresses


After I found this tutorial online and really wanted to make one of these dresses for my daughter. I read the tutorial, figured out the necessary math, and got inspired by this photo. Initially, I was going to make one for Leah who's 9 months old. Of course, when Naomi who's 3 1/2, saw the picture on the computer, she wanted one, too. At Naomi's request, their dresses are "opposites." In this case that simply means that one is in rainbow order from the top down while the other is in rainbow order from the bottom up. This tutorial is the way I constructed the skirts of both dresses. It took me a second to figure out the calculations the first time, but the second time around was a breeze.

Again, go to the tutorial for more specific information on the skirt, but here's the quick low down.
Cut a million little squares. The exact number and size will vary from dress to dress depending on the measurements of your small person.Sew the squares into long strip. Then connect the ends to make a ring of each row.Gather the top edge of one ring before attaching it to the bottom edge of the ring above. (For my second dress I skipped this step and hand pinned small pleats into the rings as I added them. either way works.) Repeat this step until all layers are attached.
Hem the bottom edge, add any embellishment you want, and...
The skirt is done. (I'd actually recommend hemming and embellishing the bottom ring before gathering it and attaching it to the rest of the skirt.)

To make the tops of the dresses I traced similar style items from each of the girls' closets, hoping that would help make them the right size. This isn't meant to be a true tutorial, so rather than bore you with all the details, here's a little photo journal of the top-making process.


The red top has shoulder strap button closures and very large arm holes which will allow for some growing. The purple has tie shoulder straps, which are fully adjustable.

I don't plan to ever put the girls in these dresses at the same time, though Noami might have other plans. Either way, I can't wait for spring when I can watch these two monkeys spin and twirl barefoot in the grass outside or in the sand at the beach.